Transform

Organize the horizontal menu of your site

This tutorial is a step-by-step guide to using the menu editor to manage your site navigation links in the horizontal menus.

Your horizontal menus (top and bottom) are the main tools enabling your site visitors to navigate around your site content, like pages, blog posts and photo albums.


Accessing the menu editors

To begin editing your site menus, head to Settings > Menus.

You'll notice that the page is laid out to represent the different parts of your site content, including the site header and site menus.

This is where you'll manage:

  • the top menu
  • the bottom menu
  • the side menu(s)

Each design theme has it's own pre-set site layout, including the menu options. Some design themes have one or two side menus, and a top and/or bottom menu.

The focus of this tutorial is the top menu, present in all design themes, but the principals and procedures are the same for the top and the bottom menu.

Menu manager pop-up window
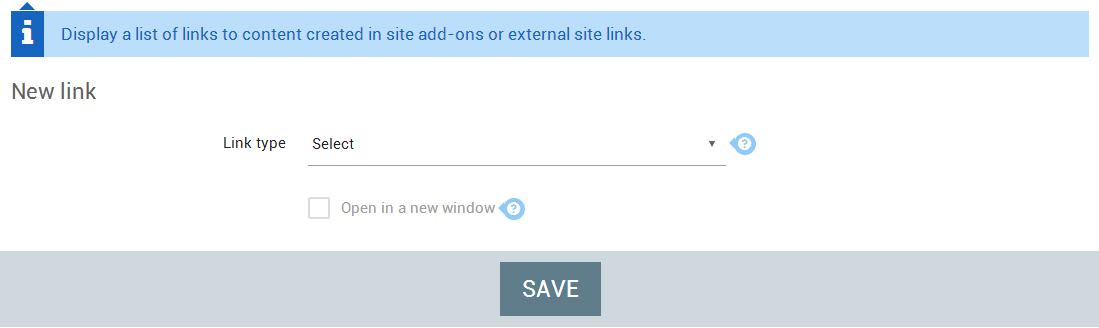
The top menu editor window opens in a pop-up, and all the links currently added to the menu are listed in the window.

To the left of the list, you'll see a display of the menu link titles exactly as they appear on your website. To the right of each title are ordering arrows. Clicking an arrow will move a link up or down in the list: Moving a link towards the top of the list will move it to the left of the menu on your website, and moving a link towards the bottom of the list will move it to the right of the menu on your website.

  • moving a link towards the top of the list will move it to the left of the menu on your website
  • moving a link towards the bottom of the list will move it to the right of the menu on your website

At the right of each menu link you'll find two buttons: one for deleting the link, and another for editing it.

We'll begin by adding a menu link, so click the button at the top right of the pop-up window: New link.

Adding menu links

Click on add link. When adding a menu link, you'll have two possibilities: External/manual or Internal.

  • Internal links are what you'll use mostly. Adding an internal link to an item of site content, like a Page, Blog post or a site Add-on, is simplified. Once you choose the internal link type, you'll simply select the kind of site content, and the item itself, from one or more drop-down menus.
  • External or manual links have a simplified editor, and involve entering the full URL or address of the link, and the title text for the link that will appear in the menu. Adding these kinds of links means you can create links in your top menu to a page of your own website (you'll need to know the address of the page first), or to a page of an external website.

Menulink 1

Adding an internal content link to the menu

To add a link to an item or page of site content, add an Internal link. Once you've selected this type of link, you'll then choose the kind of page to which you'll create the menu link:

  • your site homepage (1)
  • the homepage of a content add-on(2): the main page of your Photo album, your Guestbook, Blog, Forum or online Store
  • an add-on category(3): a category you've created in one of the content Add-ons, like a Page category, a Forum category or Store category
  • an item of content from an add-on(4): an individual Page, Forum topic, Store product etc.

Depending on the kind of link you choose, you'll need to navigate through one or more drop-down menus to select the page on your site to which you'll create the link.

For example, to add a link to a single Page (created in the Pages add-on), you'll select the Pages add-on, the Page category in which the Page has been placed, and finally the Page itself.

Adding an external link to the menu

To add a link to an item or page of site content, add an External or Manual link.

  • Select the link type: add an External or Manual link(1)
  • Write or copy past the URL (2)
  • Decide what you want as the link title(3)

For example, to link to a site outside of your own, copy the URL, for example, www.emyspot.com and then decide the title of your choosing, emyspot - make a free website (this is the title that appears in the menu).

Create a drop-down menu

You can create a drop-down menu in your top horizontal menu. When a visitor hovers over the title in your menu, they can see:

  • the list of categories and subcategories of an add-on (ex : Blog > New > This month/ This year)
  • the list of categories and elements listed in the category.(ex: Blog > New > Create a drop down menu/add a favicon)

Working with top and bottom menus : Let emyspot do the work

Although its easy to manage the links to site content by editing the menus manually, you can leave the site manager to manage the menus for you if you'd prefer. Whenever you enable a content add-on or add site content like add-on categories, you have the option of automatically adding links to menus right from the content editor.

When first beginning to make a website, you can let the site manager take care of adding the links to your website content as you go, and edit the menus later on, to change the order of links, or to personalize them if you need to.