Add a favicon to your website

Favicons are the small images that appear next to website names or addresses in a browser address bar, tab, or bookmarks list. They help people to identify a website visually, and aid in creating a brand identity for a website. Adding a favicon to your website is easy, and all you need to is choose your image.


Favicon files

Favicons are small, so they needn't be any larger than the size you'll need: 16x16 or 32x32 pixels is just fine.

A favicon is simply an image file, so you can add a favicon in any of the three favicon-compatible image formats: .png, .gif and .ico. However, to ensure that all browsers will be able to use the favicon, it's best to use .ico files, as it's the only image format compatible with all major web browsers.

Once you've obtained the image you'd like to use for a favicon (created yourself using an image editing application, for example), you'll need to convert it to .ico format. If your image editing software can't convert the file for you, use an online tool like ConvertIcon.

To convert the file, upload it to the website in its original format - ConvertIcon will enable you to select the dimensions for the exported image, so you can upload the image without resizing it first.

Converting the image

Once the image is uploaded, a preview will be displayed. Select the image, and click Export.

Setting the correct file type

On the following screen, you'll select the image dimensions for the exported .ico image. An .ico file can contain more than one version of an image, and each version can be a different size. Exporting multiple sizes ensures that the application displaying the image (in our case, a web browser) can automatically select the most appropriate image size.

For .ico files, export both 16x16 and 32x32 image sizes by selecting the relevant boxes, then click Save As. Choose a destination on your computer for saving the image file, and a file name (ending with .ico), then save the image.

Add the favicon to your website

To add the favicon to your website, head to the site manager, under the Settings > Global settings > Site info. menu. Locate the New Favicon section and click Choose file. Select and upload the file from your computer - once uploaded, the file name will appear in the site manager.

Click Save at the bottom of the page once you're finished uploading the file. That's it - your favicon is now added to your website.

Adding an iOS favicon for iPhones and iPads

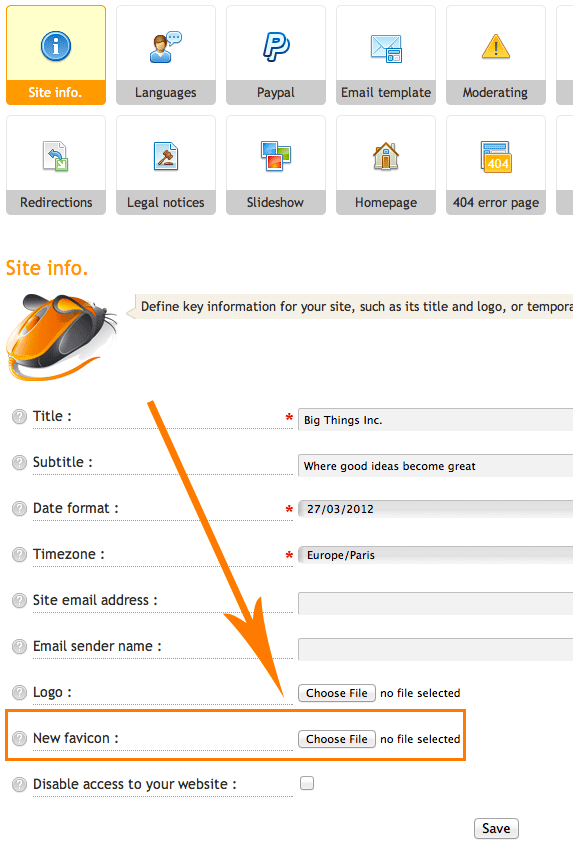
You can add a separate favicon to personalize the image displayed on iOS devices, like the iPod, iPhone and iPod Touch.

Whenever an iOS user adds a shortcut link to a website to their home screen, an image is displayed. Unless you specify which image to use in the site manager, the image displayed will be a partial preview of the homepage of your website.

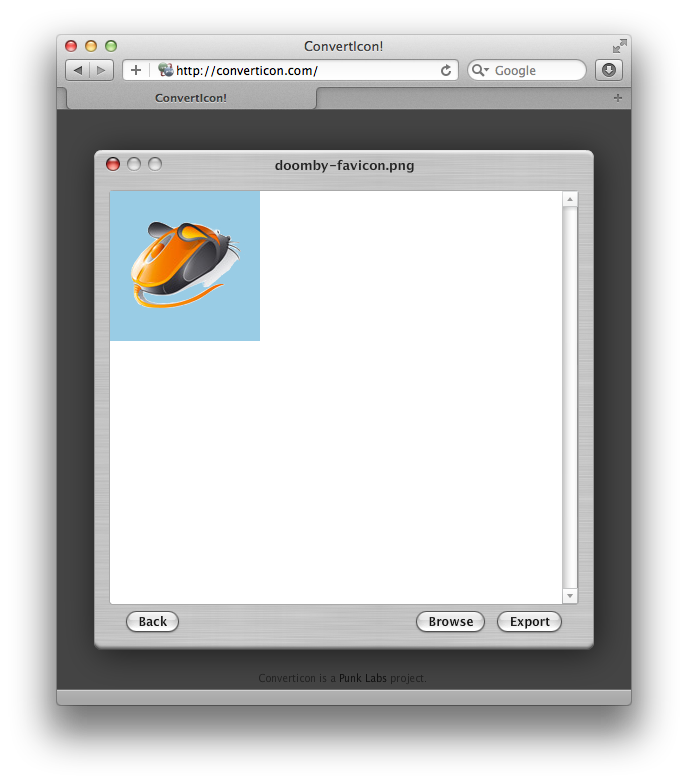
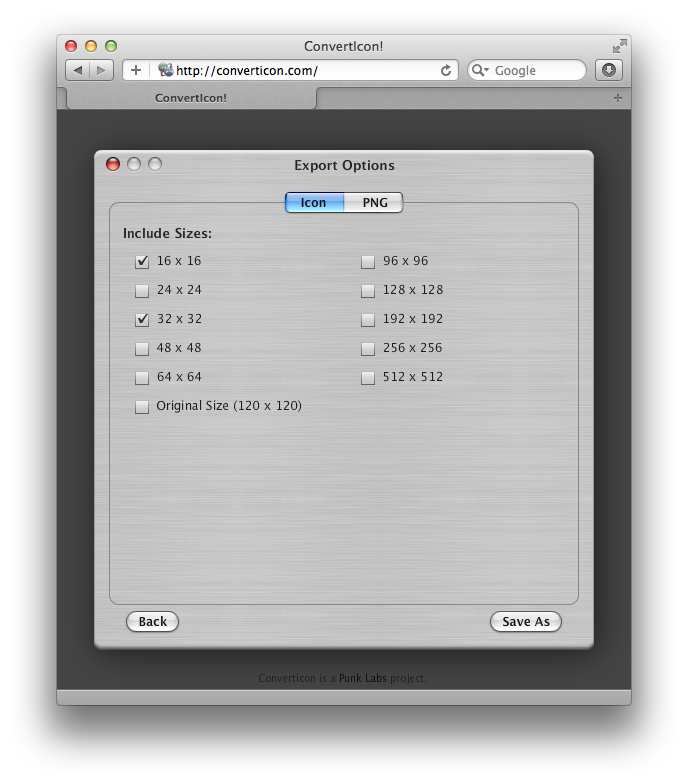
To personalize the image used, you'll need to use a large-sized .png image, preferable 144x144 pixels in size. Use ConvertIcon to export the image, then upload it to your site via the File storage space menu of the site manager.

Once the image is uploaded, select it in the explorer window, click the Details button, then the Insert tab, to copy the image URL (address).

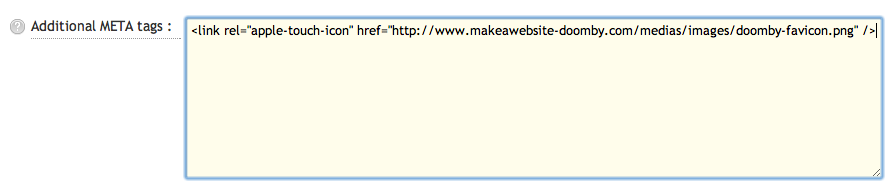
Head to the Settings > Global settings > Editable zones menu, and locate the Additional META tags section. Paste the following code:

<link rel="apple-touch-icon" href="IMAGE-ADDRESS" />

Replace "IMAGE-ADDRESS" with the address of your image in the site storage space, then save your changes.

Your site now has a personalized iOS home screen image, which will be used whenever a visitor adds a link to your site to their iPhone, iPad or iPod Touch homescreen.